Tel: +86-10-89207378
Fax: +86-10-89207378
Mobile: +86-13811339497 same ID for WeChat and WhatsApp
E-mail: info@dtec-ndt.com
Skype: stillsuccess1


|
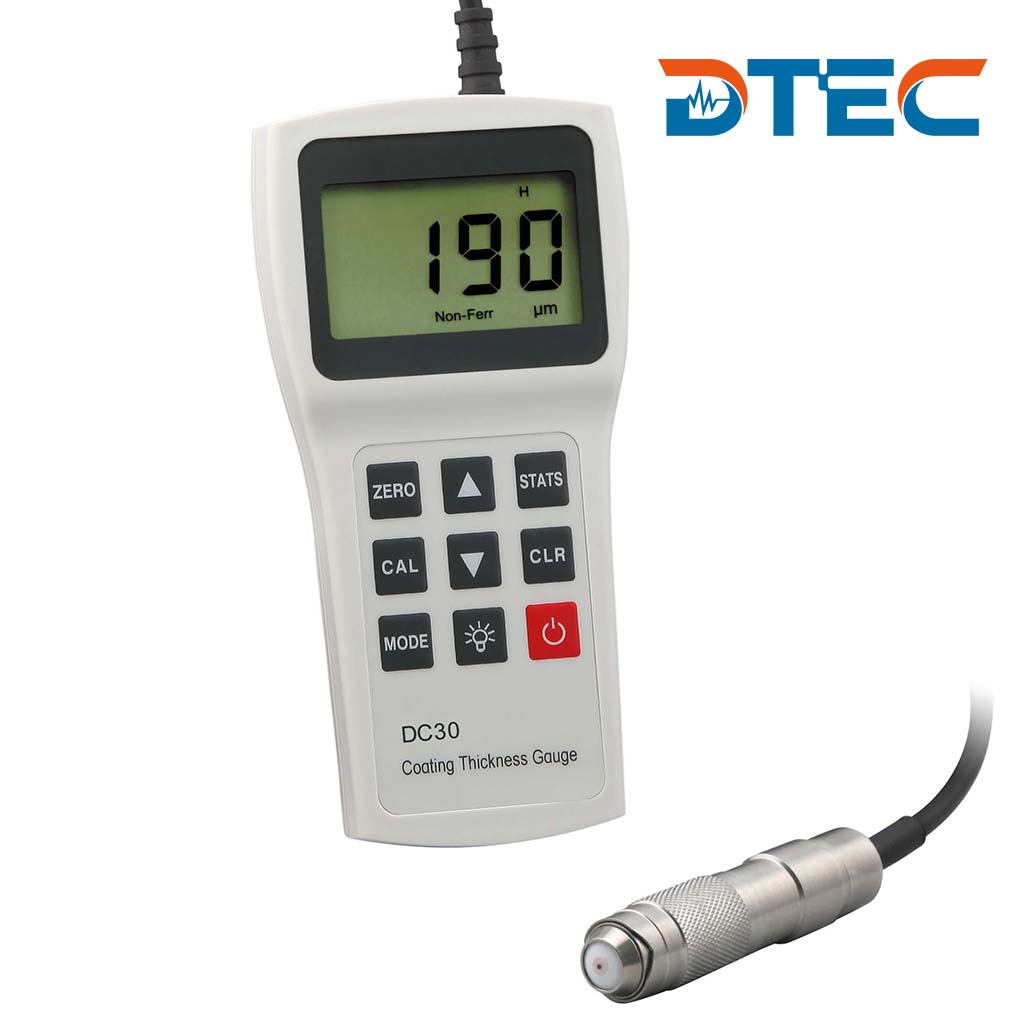
Product : Coating Thickness Gauge
Model : DC30N
Country of Origin : CHINA
Brand : DTEC
Quality Certified : CE,GB/T 17394-1998, ASTM A956
Delivery Time : 3 days
Packing Weight : 2KG
Dimension : 30x23x8cm (LxWxH)
Package Type : Maker's Standard Export Carton
Courier : DHL/TNT/FedEx/UPS/EMS,Shipping Agent
Payment Term : TT100%/Private Bank Account/L/C/Paypal/Western Union
|
- Product Intro
- Feature
- Specification
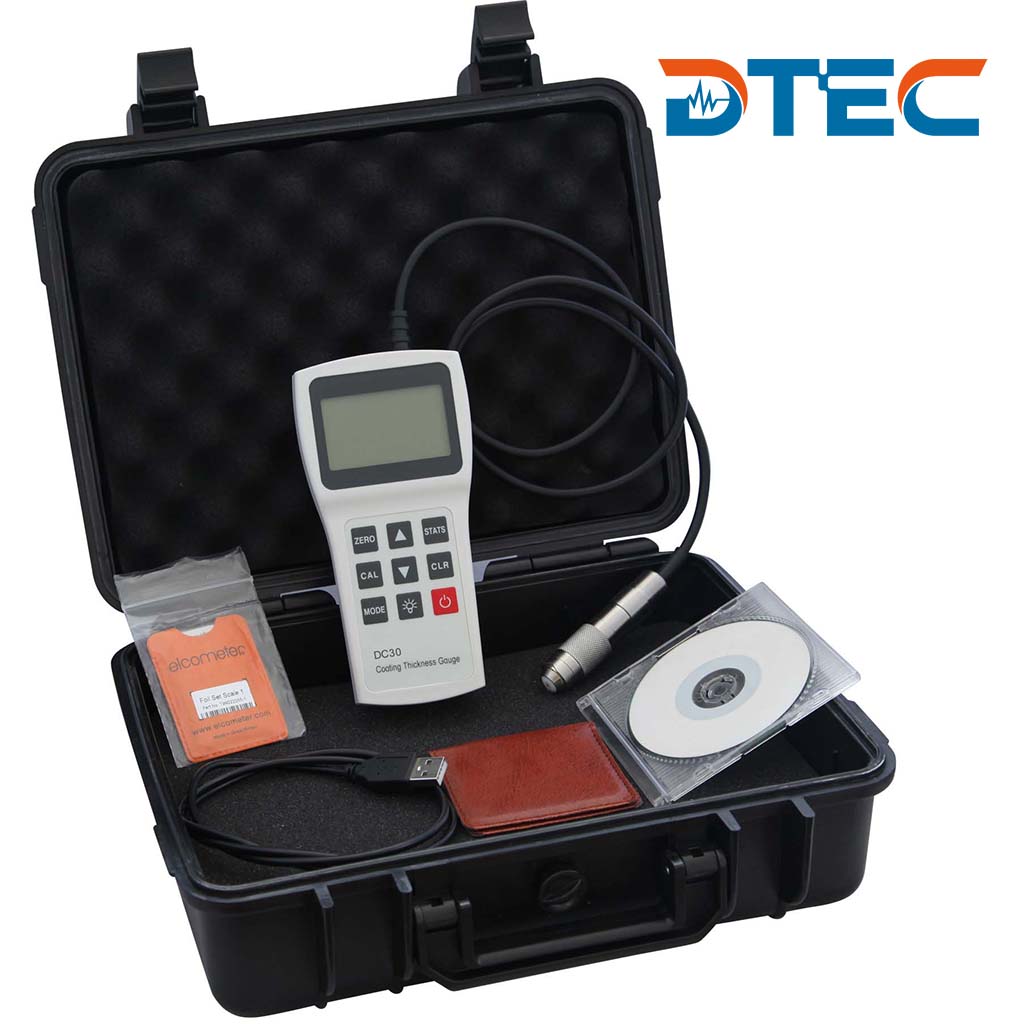
- Packing List
It is widely used in electronics, power plants, petrochemical industry, aviation, architecture etc.
Using Scopes:
With non-ferrous probe, it is used to measure non-conductive coatings on non-magnetic substrates.
►Common non-conductive coatings:
Painting coating(oil paint, painting, powder spraying), plastic film,rubber layer,erosion resistant coating,synthetic material layer,chromium layer,copper layer, lead layer, aluminum layer, tin layer, cadmium layer, zinc coating, enamel etc..
►Common non-magnetic metal substrates:
Copper,Stainless Steel Aluminum,Gold,Silver and almost all the metals except iron, cobalt and nickel.
Measuring principle of DC30 Series:
►Magnetic Method (Fe): Measuring the thickness of non- magnetic coatings on steel, iron and other ferromagnetic metal substrates, e.g. painting, varieties of anti-corrosion coating, powder spraying, plastic, rubber, synthetic material, phosphate coating, chromium, zinc, Aluminum, tin and cadmium, etc.
►Eddy Current Method (NFe): measuring the thickness of non-conductive coatings on copper, aluminum, stainless steel and other non-ferromagnetic substrates, e.g. painting, varieties of anti-corrosion coating, powder spraying, plastic, rubber, synthetic material, oxide film and phosphate film, etc.
►Standard data processing software and USB cable, enable to connect to PC for further data analysis and data print;
►Wide measuring range of non-ferrous probe:0-2000μm;
►Multiple statistics function: Measuring Times, Max, Min, Average, and Standard Deviation;
►High Contrast Segment Liquid Crystal Display (LED Backlight);
►Suitable for both One-Point Calibration and Two-Point Calibration;
►Auto off after 3 minutes of inactivity to save power;
►Excellent after-sale service system for high quality products. Easy to buy and convenient to use.
|
Model
|
DC30N
|
|
|
Measuring Principle
|
Eddy Current Method
|
|
|
Measuring Range (μm)
|
N1 Probe:0-2000
|
|
|
Indication Resolution
|
0.1
|
|
|
Indication Error (μm)
|
±(2%H+2)
|
|
|
Repeatability (μm)
|
±(1%H+1μm)
|
|
|
Measuring Condition (mm) |
Min. Curvature Radius(convex)
|
3
|
|
Min. Measuring Surface
|
Φ 5
|
|
|
Min. Substrate Thickness |
0.3
|
|
|
Display
|
High Contrast Segment Liquid Crystal Display (display only figure) (LED Backlight) |
|
|
Statistics Function
|
Measuring Times, Max, Min, Average, and Standard Deviation |
|
|
Calibration Mode
|
One point and Two Point
|
|
|
Working Temperature
|
-10℃~+50℃, -20℃ in special requirement
|
|
|
Auto Power off
|
Auto off after 3 minutes of inactivity |
|
|
Power Supply
|
Two AA size batteries, low-voltage indication function |
|
|
Dimension
|
30x23x8cm (LxWxH)
|
|
|
Packing Weight
|
2 KG
|
|
|
No.
|
Items
|
Qty.
|
|
1
|
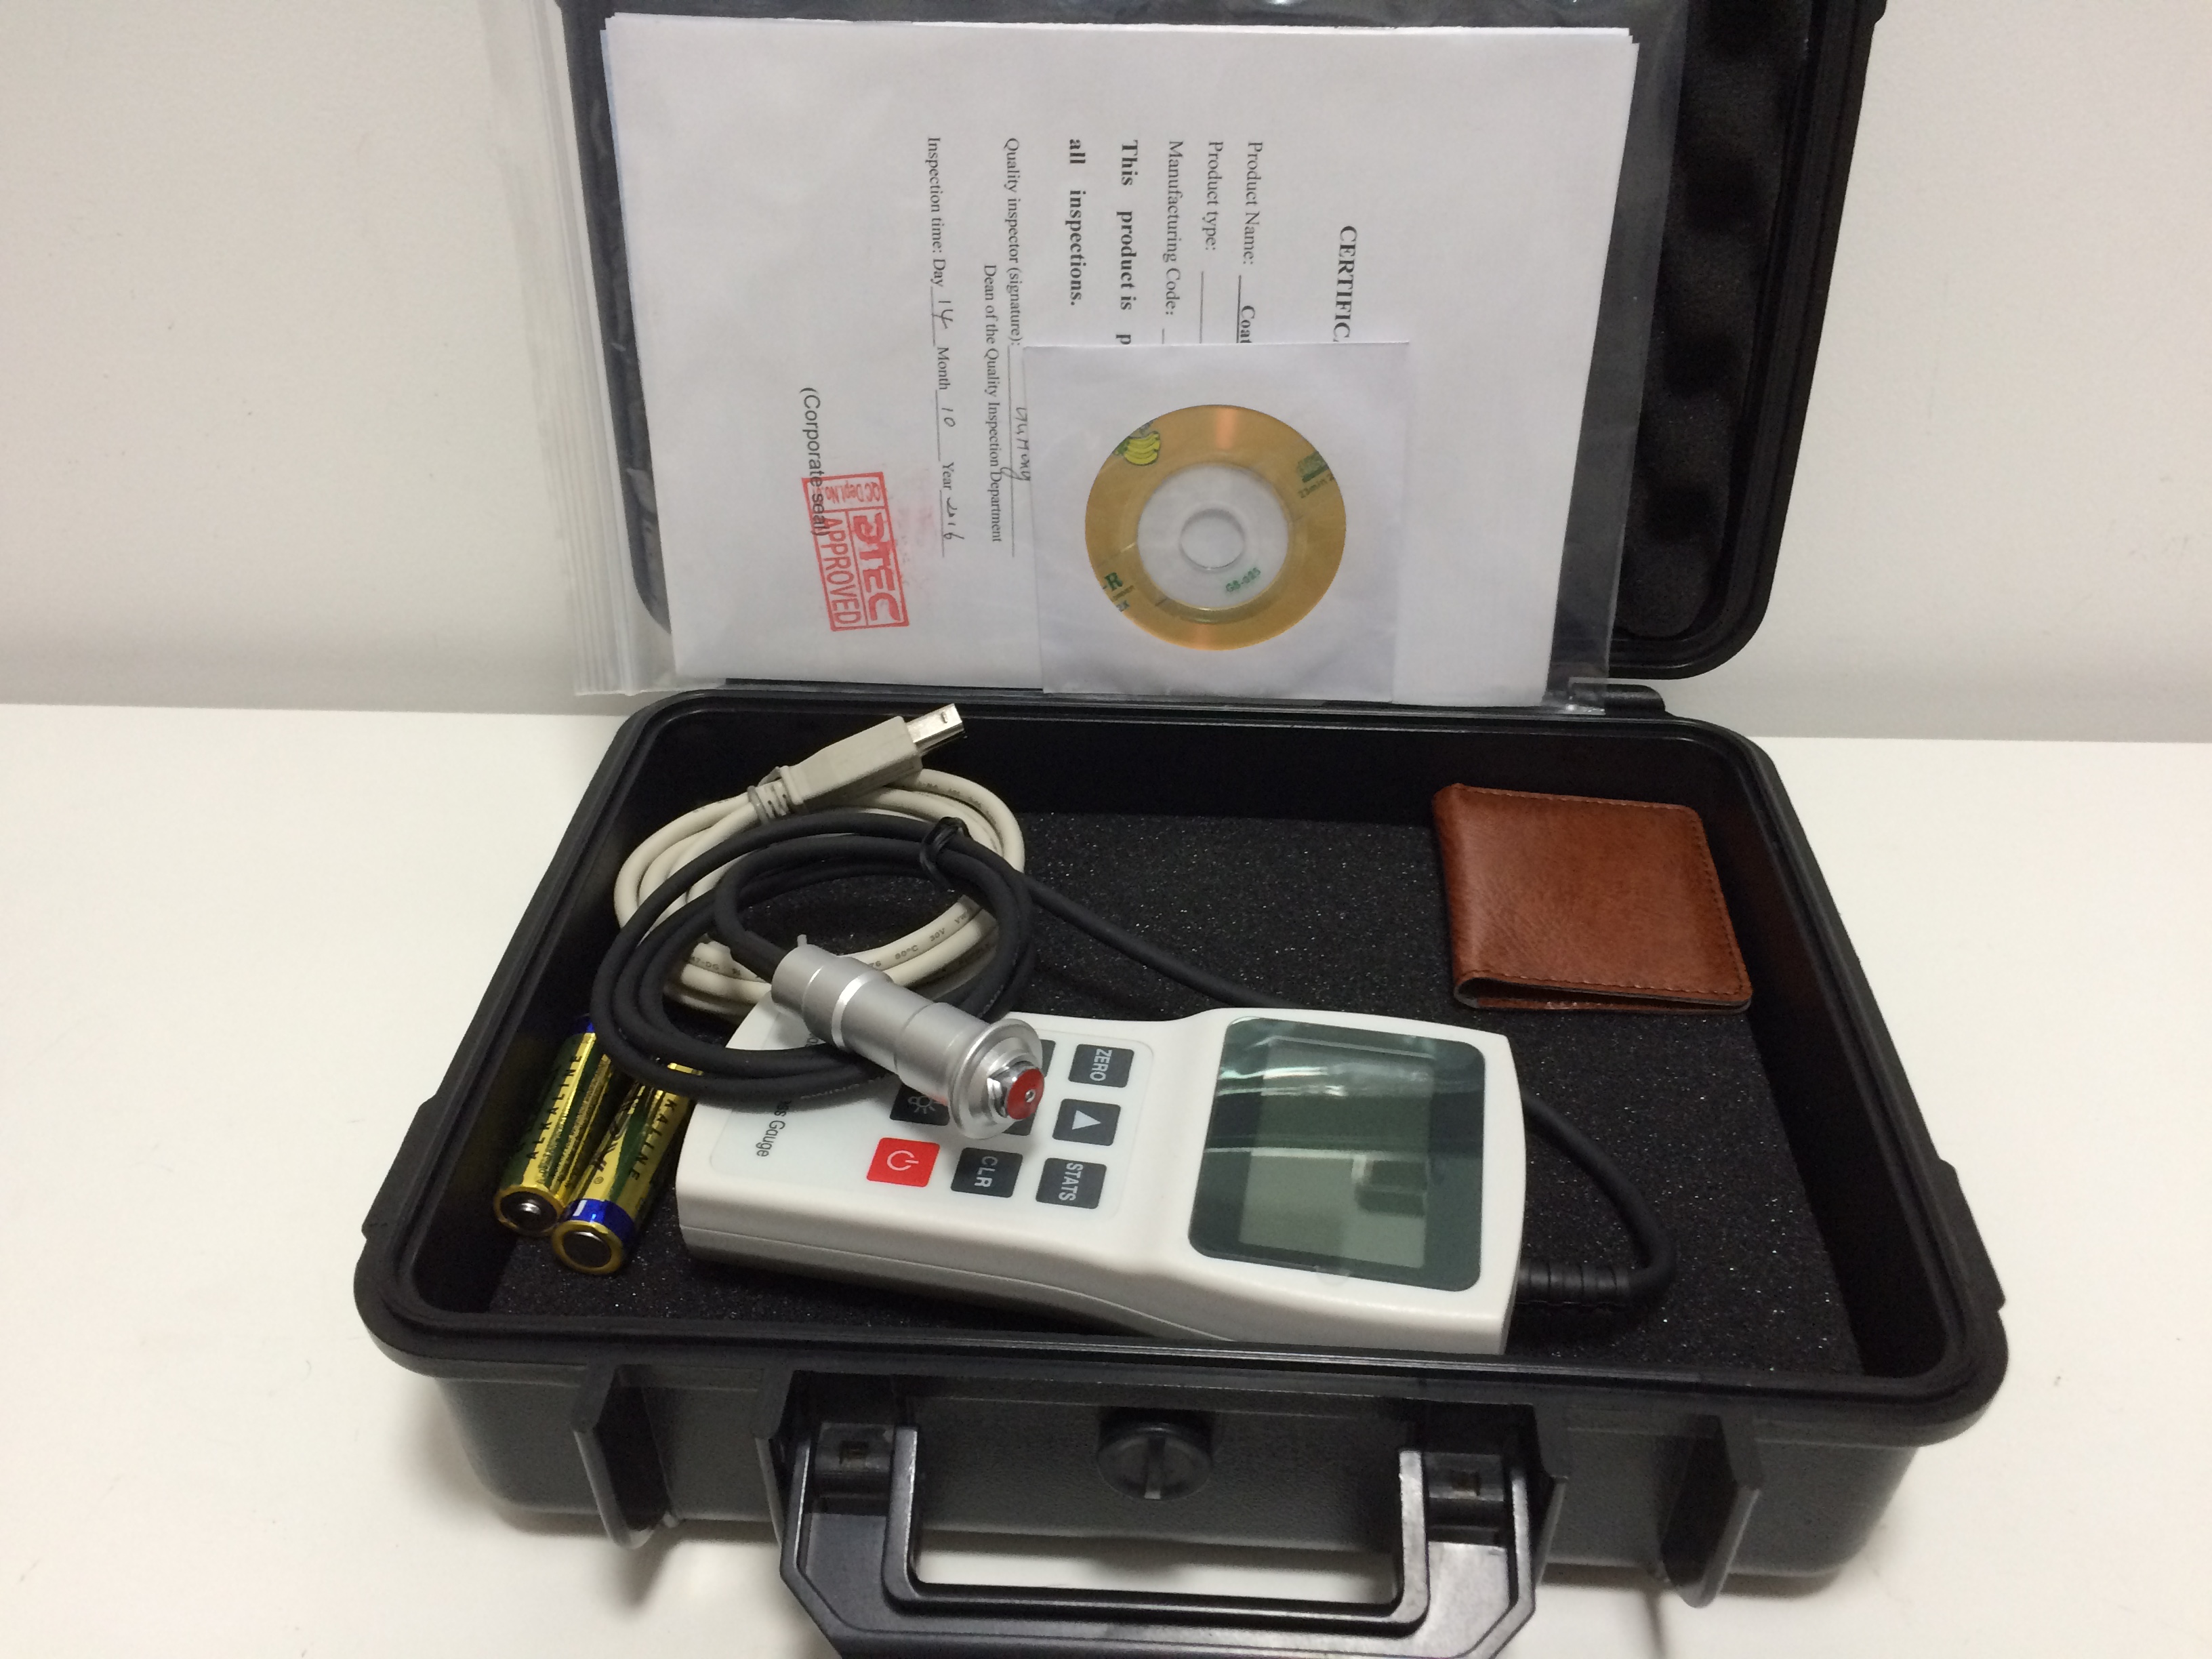
DC30N Coating Thickness Gauge Main Unit |
1
|
|
2
|
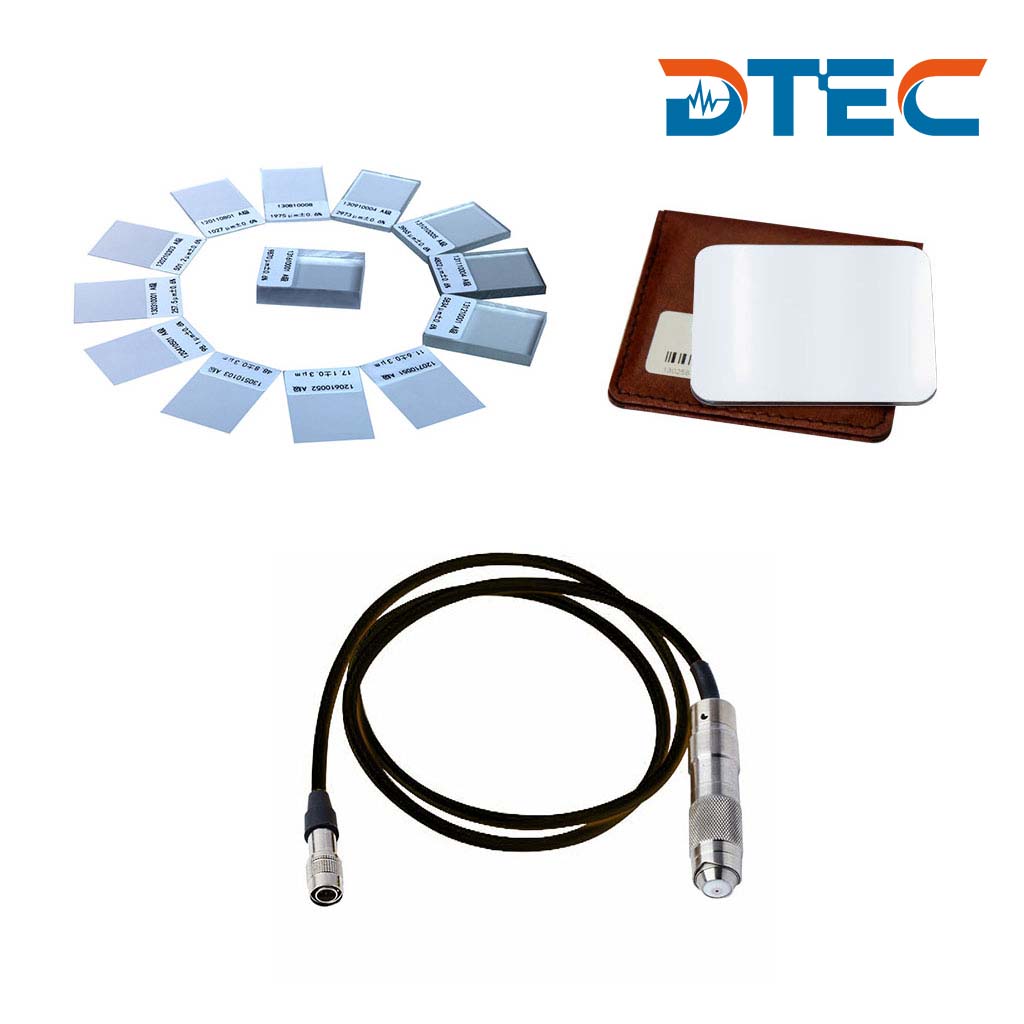
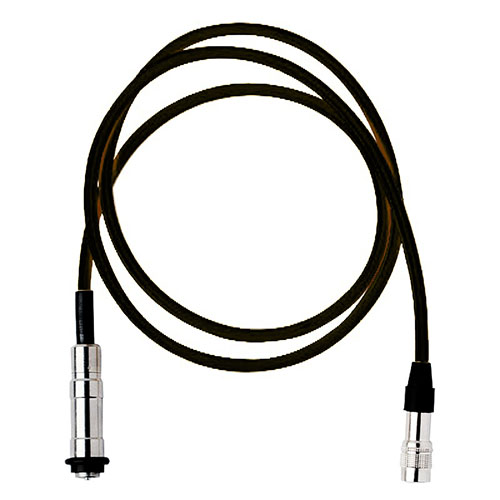
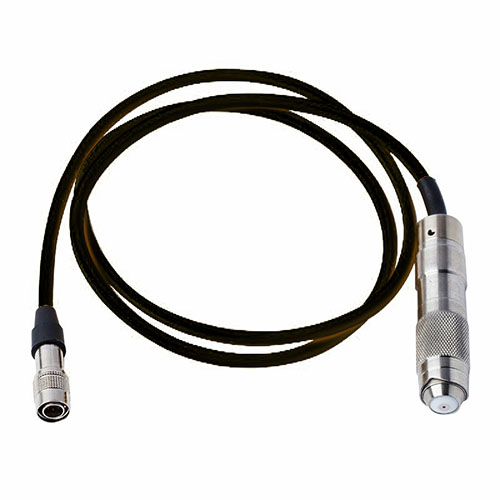
N1 Non-ferrous Probe
|
1
|
|
3
|
Calibration Foils
|
3
|
|
4
|
Zero Plate (Al)
|
1
|
|
5
|
Data Processing Software and USB Cable |
1 each
|
|
6
|
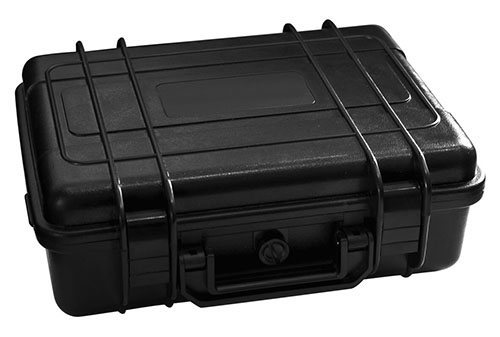
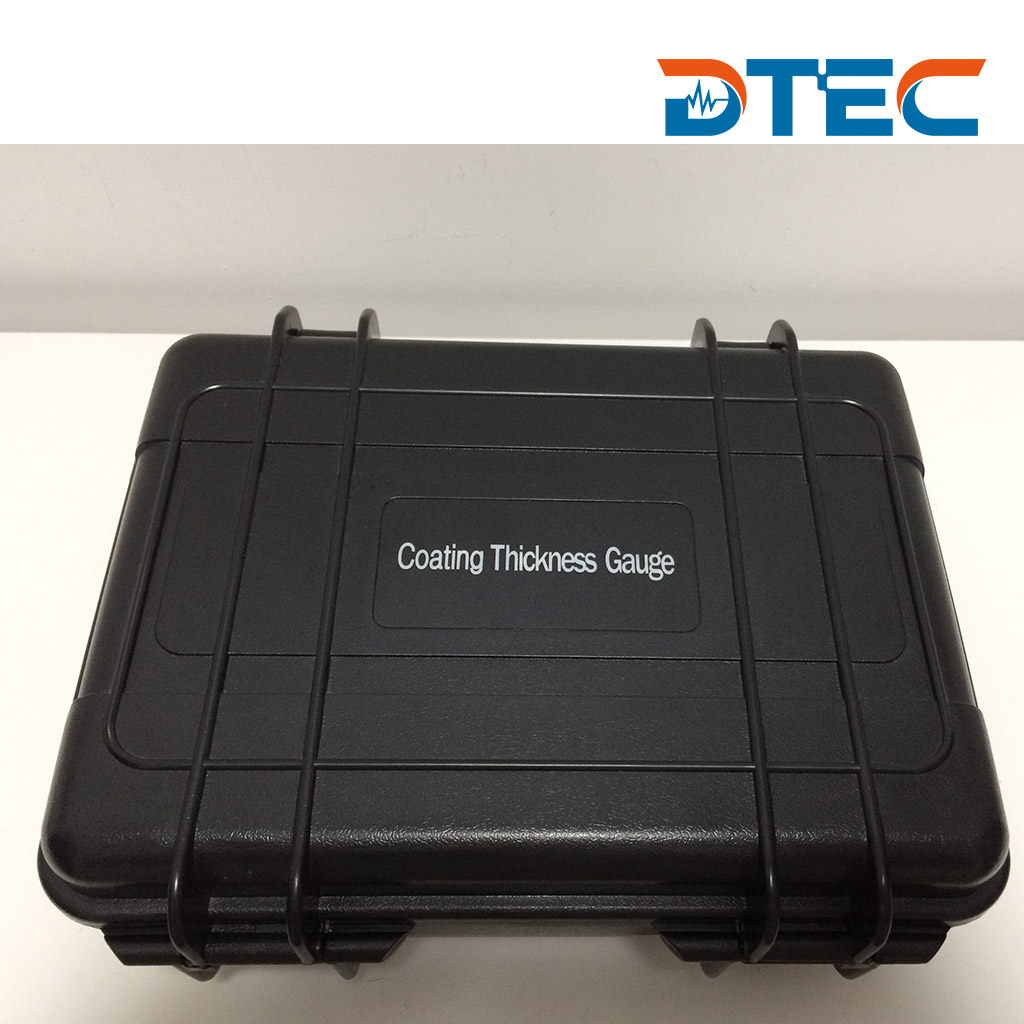
Instrument Case
|
1
|
|
7
|
Manual, Guarantee Card, Quality Certificate |
1 each
|
Optional Accessories:
|
No.
|
Items
|
|
1
|
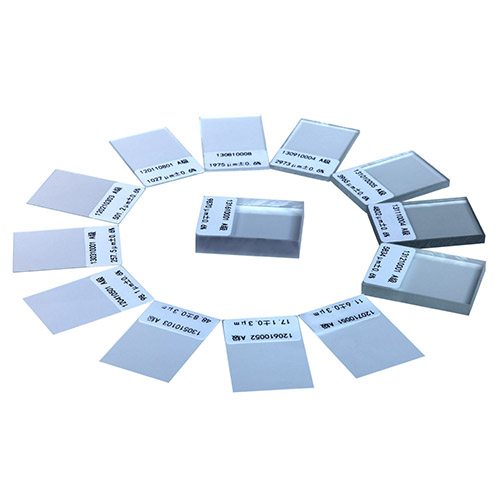
Plastic Calibration Foils |
|
2
|
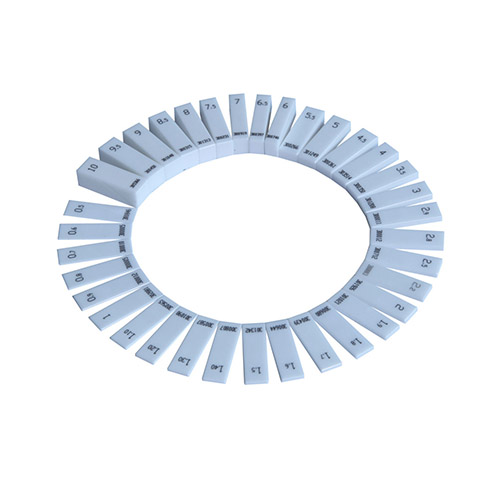
Ceramic Calibration Foils |
|
3
|
Fe Zero Plate
|
|
4
|
Al Zero Plate
|
|
5
|
F1 Ferrous Probe
|
|
6
|
N1 Non-ferrous Probe
|
|
7
|
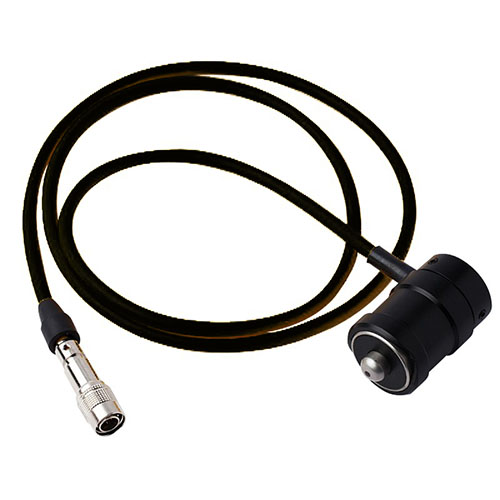
F10 Ferrous Probe
|
►F1 Probe:
►N1 Probe:
►F10 Probe:
►Plastic Calibration Foils:
►Ceramic Calibration Foils:
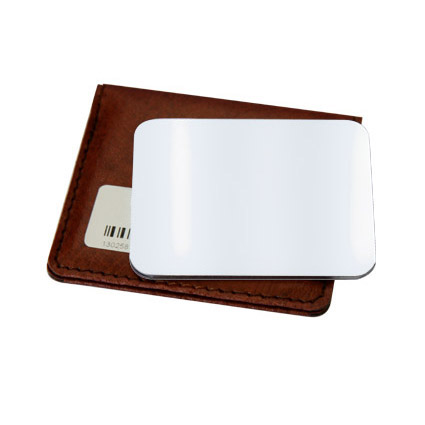
►Fe Zero Plate:
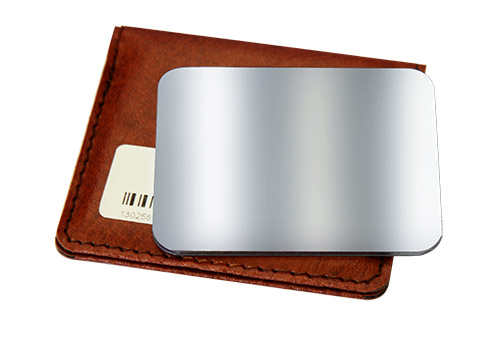
►Al Zero Plate:
►DC30 Series Instrument Case:
