Contact Us
Tel: +86-10-89207378
Fax: +86-10-89207378
Mobile: +86-13811339497 same ID for WeChat and WhatsApp
E-mail: info@dtec-ndt.com
Skype: stillsuccess1


|
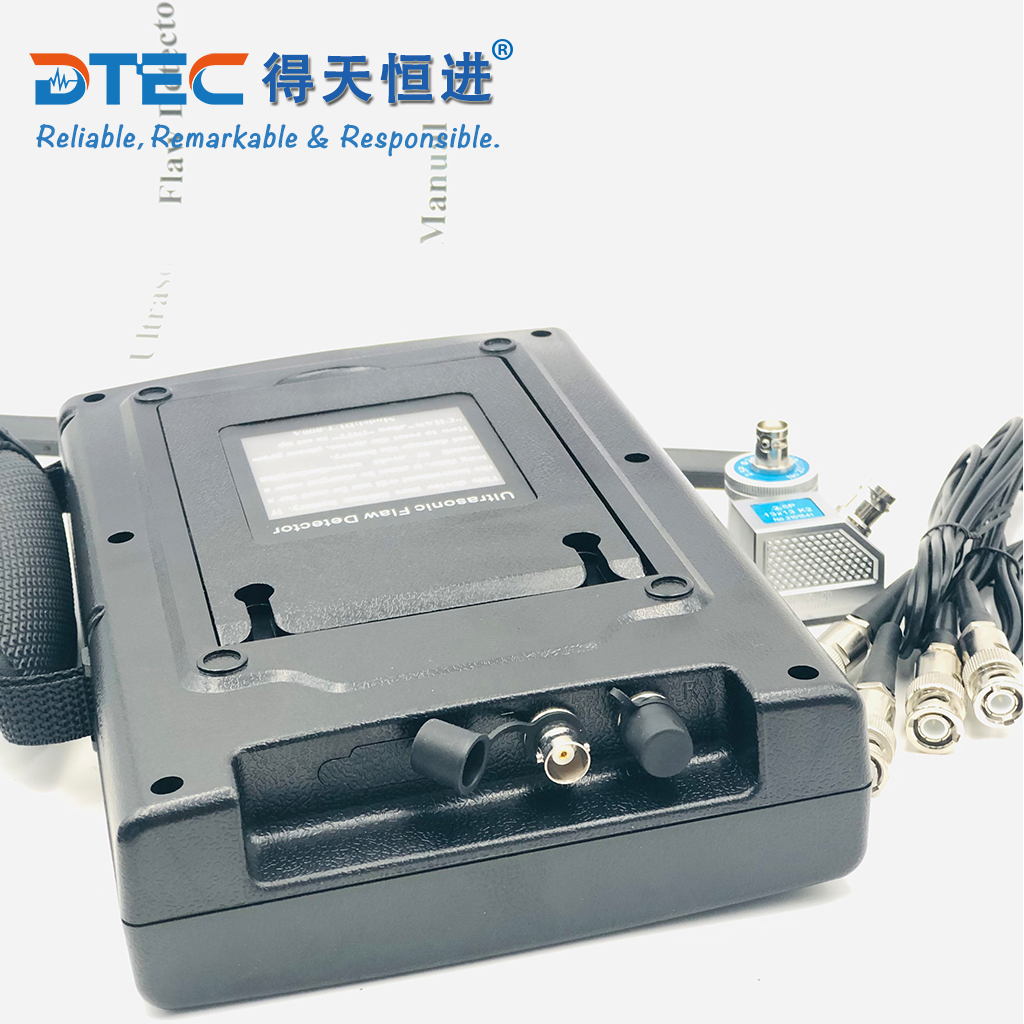
Product : Digital Ultrasonic Flaw Detector
Model : DUT-800
Country of Origin : CHINA
Brand : DTEC
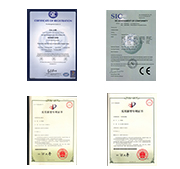
Quality Certified : CE,ISO
Delivery Time : 3 days
Packing Weight : 6KG
Dimension : 45x38x23cm(LxWxH)
Package Type : Maker's Standard Export Carton Box
Courier : DHL/TNT/FedEx/UPS/EMS,Shipping Agent
Payment Term : TT100%/Private Bank Account/Credit Card/Paypal/Western Union
|
- Product Intro
- Feature
- Specification
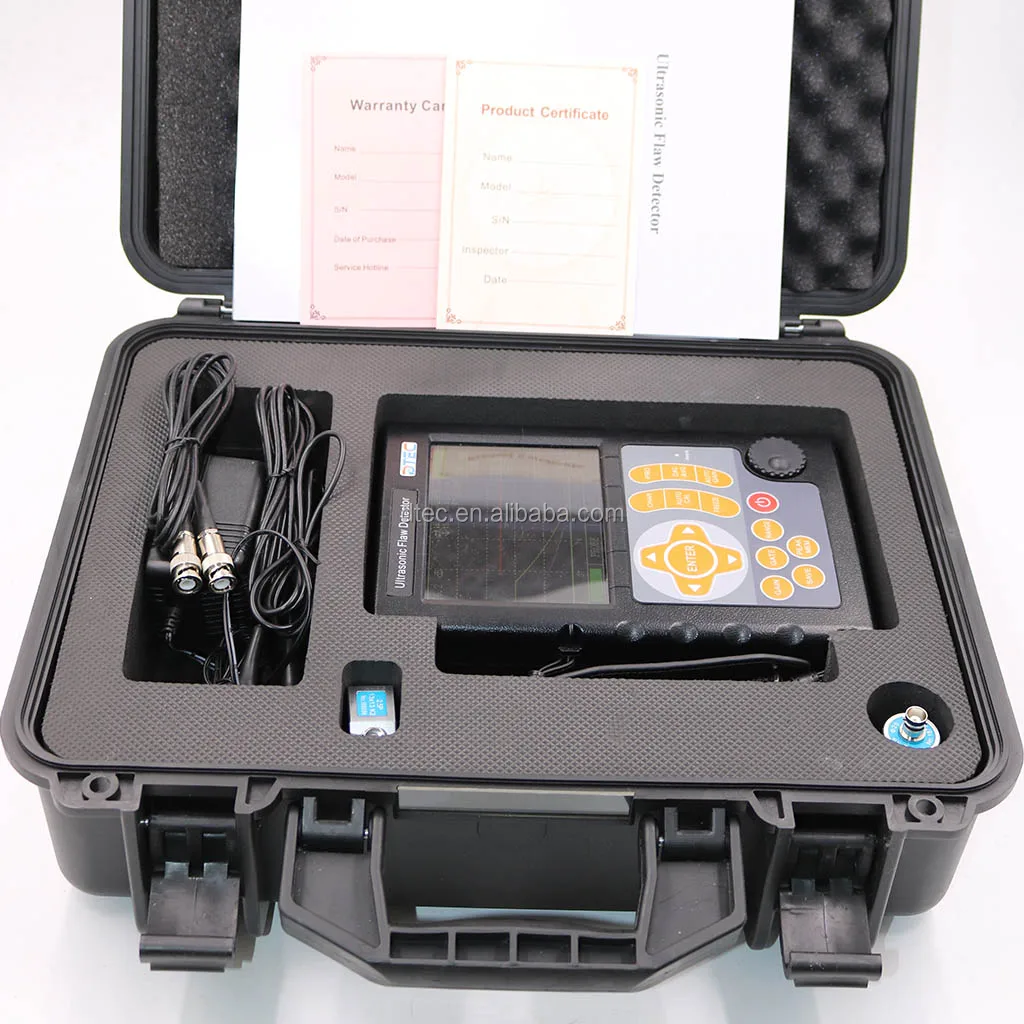
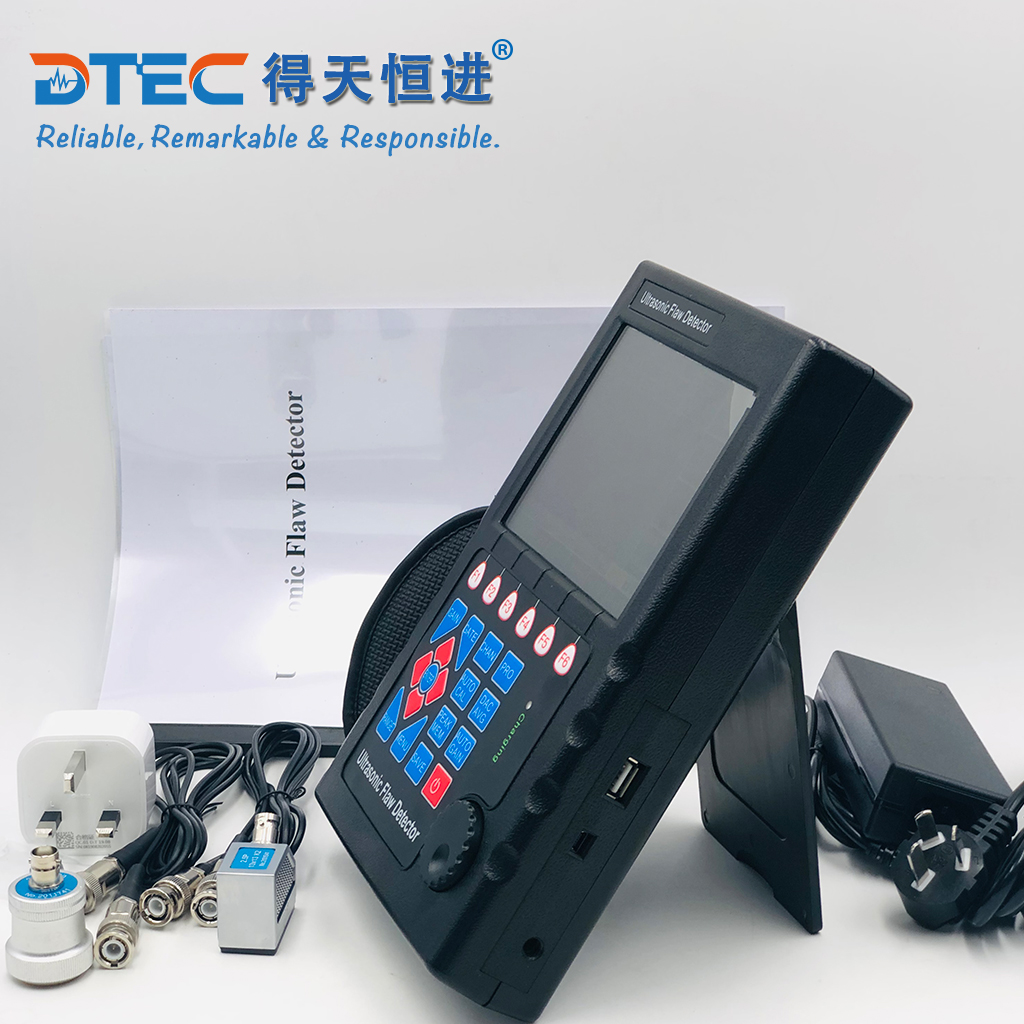
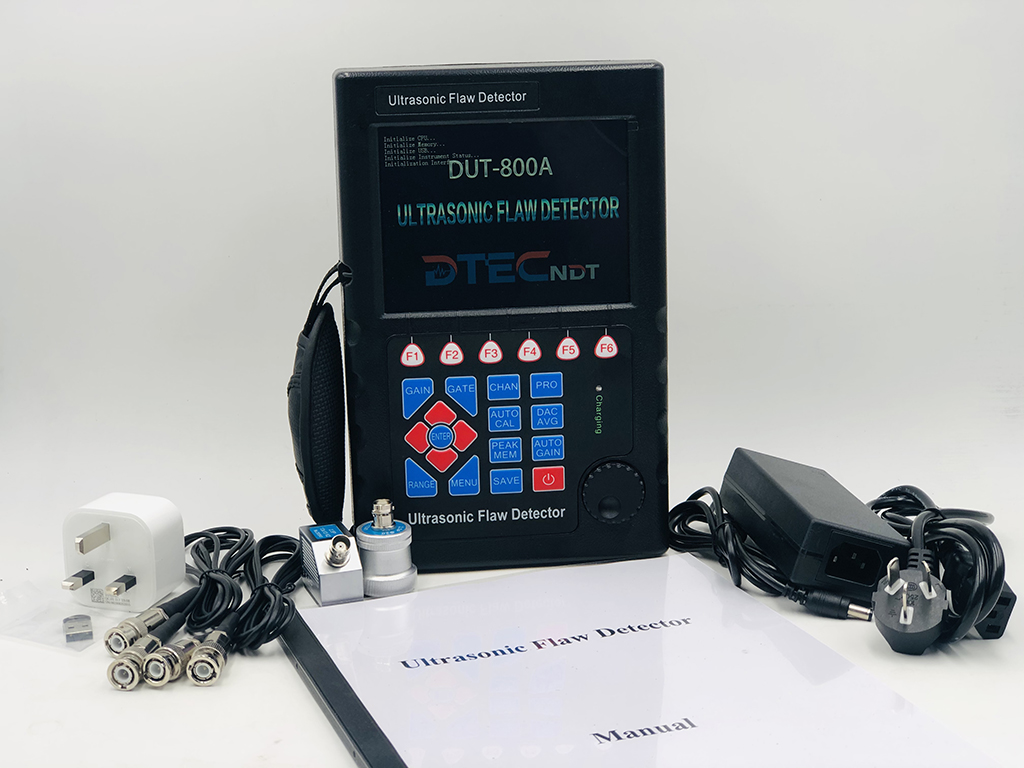
- Packing List
Using Scopes:
The instrument can be quickly, nondestructively and accurately used in locating and sizing hidden cracks, voids, disbands, and similar discontinuities in welds, forgings, billets, axles, shafts, tanks and pressure vessels, turbines, and structural components.
The Main Difference among DUT800 series:
|
Model
|
DUT800
|
DUT800A
|
|
Measuring Range
|
0-10000mm
|
0-10000mm
|
|
Working Frequency
|
0.2MHz-20MHz
|
0.2MHz-20MHz
|
|
Material Sound Velocity
|
1000-15000m/s
|
1000-15000m/s
|
|
Gain adjust Range
|
0-120dB adjustable
|
0-130dB adjustable
|
|
Working Hours
|
10 hours
|
10 hours
|
|
Storage Capacity
|
300
|
1000
|
|
Channels
|
100
|
500
|
|
B Scan Function
|
One-dimensional
|
Two-dimensional
|
|
Video Record
|
5 minutes cyclic recording
|
Unlimited recording
|
|
Wave Peak Memory
|
√
|
√
|
|
DAC/AVG Curve
|
√
|
√
|
|
Auto Calibration
|
√
|
√
|
|
6dB DAC
|
√
|
√
|
|
Data pro software
|
√
|
√
|
|
Spheroidization Rate
|
×
|
Optional
|
|
AWS
|
×
|
Optional
|
|
Φ Value Calculation
|
√
|
√
|
|
Wave peak memory
|
√
|
√
|
|
Curve surface amendment
|
√
|
√
|
|
Inside Industry Standard
|
√
|
√
|
|
Online software upgrade
|
√
|
√
|
|
Pulse Amplitude
|
√
|
√
|
|
Pulse Width
|
√
|
√
|
|
Gate Alarm
|
√
|
√
|
|
DAC Alarm
|
√
|
√
|
Main Features:
- High precision quantification and positioning: Suitable for inspection not only close range,but also long range;
-
Small near-filed blind zone: Meet the inspection requirement of small size specimen, such as the pipes with small diameter and thin wall thickness;
- Auto Calibration: Through one single key, device can auto test the probe parameter such as; zero point,K value,frequency, material sound velocity etc.;
- Auto defect echo position display: Auto displaying and the data like: depth d,horizontal p,distance s, amplitude, equivalent dB value, hole diameter etc.;d,p,s three data can be switched freely;
-
Auto gain: automatically adjust the gain to the preset amplitude height;
- Wave peak memory: real time envelopes show the highest wave of the flaws and record the maximum value of the flaws, it is helpful to position the flaws precisely and scan the work piece quickly. With the help of envelope waveform, the quality of the flaws can be determined;
-
Auto video recording: Unlimited video recording as well as dynamic playback;
-
Φ Value calculation: the device can calculate the equivalent of the flaw according to the flaw wave height automatically.
-
500 independent inspection channels (expandable): freely input and store flaw detection standards in any industry,without carrying test blocks for on-site inspection;
-
10 hours extra-long battery time: Power supplied by high-performance safety and environmental protection lithium battery, continuous working for 10 hours;
-
Perfect DAC/AVG curve functions: the curves change along with the changes of the gain, sound path, and displacement, enable to be self-amended and compensated;
-
Mass data storage: Freely store and playback up to 1000 groups of A scan wave pictures and data;
-
B Scan Function: Two-dimensional B scan function, clearly show the sectional shape of defect;
-
True color LED display: Adjustable brightness, with many color schemes to choose freely;
-
Data pro software: communicate with the computer through USB port to transmit waveforms and data so as to manage the result of detection on PC and, generate the flaw detection reports in excel format, as well as print out reports;
-
DAC Curvilinear Distance Compensation: the device is designed for distance compensation. When the resolving power in the near field is not influenced, only the remote signal will be compensated for its sensitivity so as to improve the testing range of the device significantly.
|
Model
|
DUT800
|
DUT800A
|
|
|
Measuring Range
|
0-10000mm
|
||
|
Working Frequency
|
0.2MHz-20MHz
|
||
|
Material Sound Velocity
|
1000-15000m/s
|
||
|
Definition
|
>40dB(5N20)
|
||
|
Gain adjust Range
|
0-120dB adjustable
|
0-130dB adjustable
|
|
|
Dynamic Range
|
≥32dB
|
||
|
Average Electric Noise and Level
|
<8%
|
||
|
Sampling Frequency
|
320MHz
|
||
|
Wave Repetition Frequency
|
100-1000Hz
|
||
|
Reject Scope
|
0-80% without impacting linear and gain
|
||
|
Display
|
True Colorful LED
|
||
|
Working time
|
>10 hours
|
||
|
Probes
|
Single/dual crystal straight/angle probes,
|
||
|
Data Storage
|
300 groups, including parameters, Echoes and DAC Curves
|
1000 groups, including parameters, Echoes and DAC Curves
|
|
|
Channels
|
100
|
500
|
|
|
B Scan
|
One-dimensional
|
Two-dimensional
|
|
|
Detection video Recording
|
5 minutes cyclic recording
|
Unlimited recording
|
|
|
DAC/AVG Curve
|
Perfect DAC and AVG Curve display
|
||
|
D-Delay
|
-20µs~+3400µs
|
||
|
Indicating Resolution
|
0.1mm(2.5mm~100mm);1mm(>100mm)
|
||
|
P-Delay
|
0µs~99.99µs
|
||
|
Sensitivity Allowance
|
>62dB(200mm in depth,dia.2mm flat-bottom hole)
|
||
|
Vertical Linearity Error
|
≤3%
|
||
|
Horizontal Linearity Error
|
≤0.1%
|
||
|
Temperature
|
-20℃~50℃
|
||
|
Humidity
|
20%~90%RH
|
||
|
Power Supply
|
7.4V 4800mAh Lithium Battery
|
||
|
Packing Dimension
|
45x38x13cm(LxWxH)
|
||
|
Packing Weight
|
6.0kg
|
||
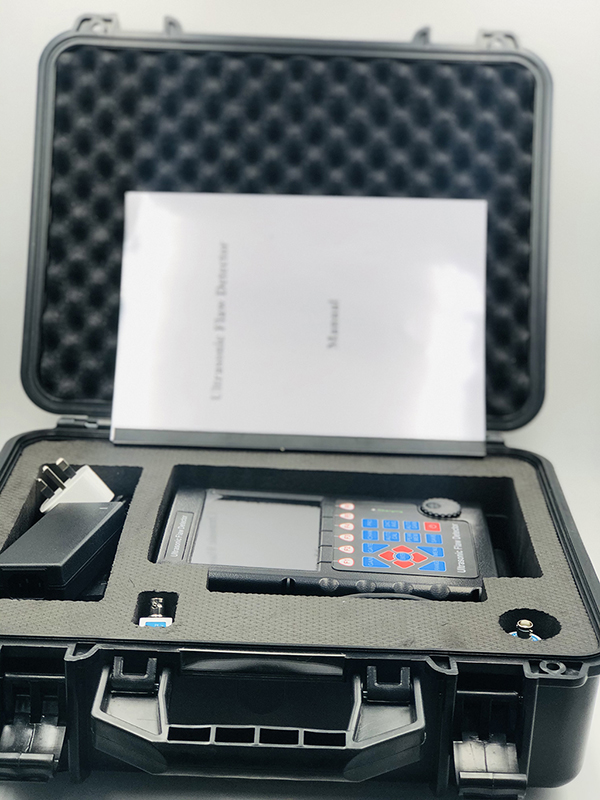
Standard Packing List:


|
|
Items
|
Qty.
|
|
1
|
Main unit with back supporter(LEMO or BNC port)
|
1 Pcs.
|
|
2
|
1.5A/9V power adaptor
|
1 Pcs.
|
|
3
|
probe connecting cables
|
2 Pcs.
|
|
4
|
Data Pro Software disk and USB cable
|
1 Set
|
|
5
|
Straight probe 10mm 4MHz
|
1 Pcs.
|
|
6
|
Angle probe 8x9 60°4MHz
|
1 Pcs.
|
|
7
|
Manual, QC certificate, warranty card
|
1 Pcs. each
|
|
8
|
Instrument Case
|
1 Pcs.
|
UT Probes:
All probe specification can be customized according to your requirement.
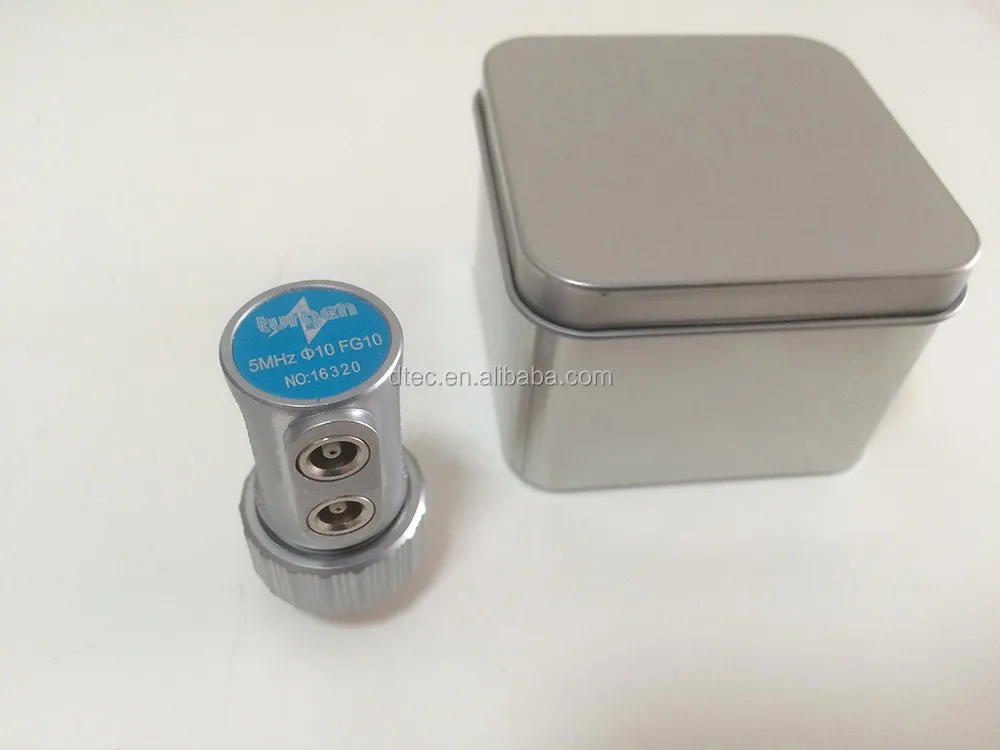
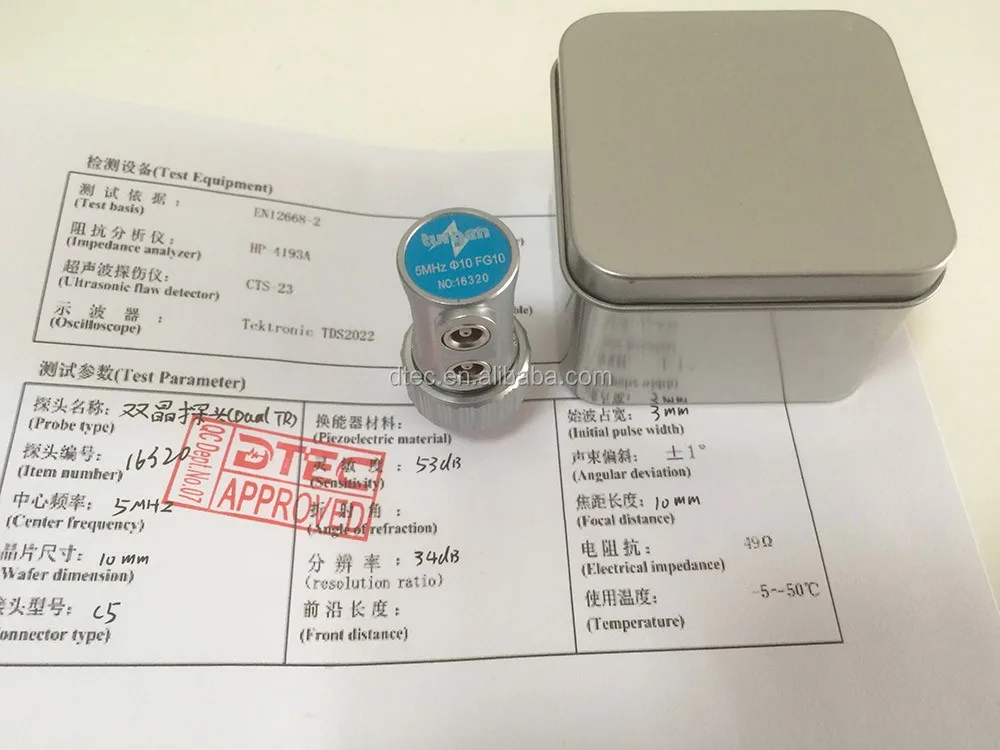
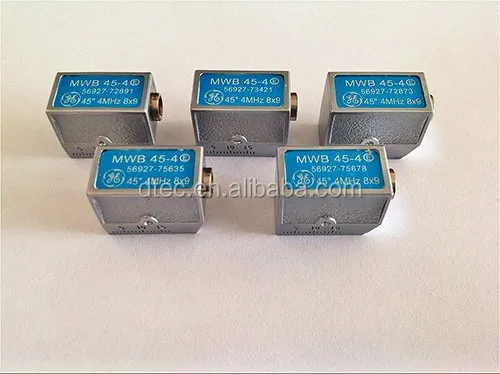
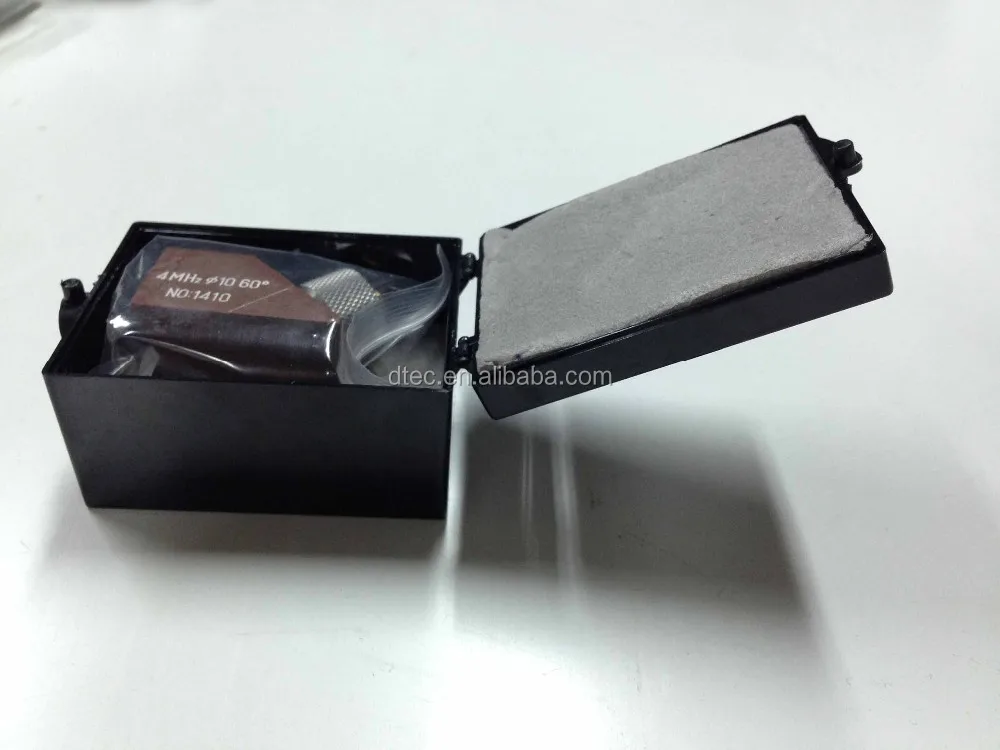
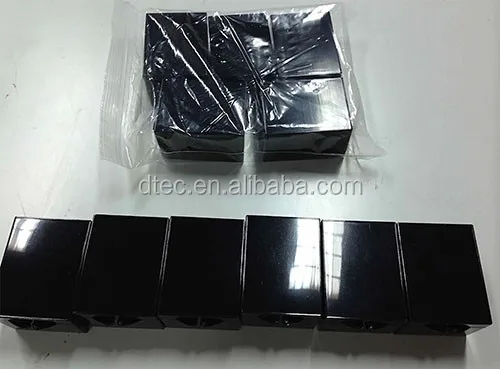
Plese do inform me the folowing information when you need UT probes:
1):Probe type(Angle Probe or Straight Probe);
2):Angle(40C,60C,70C or others);
3):Crystal Size(normal size:8x9mm);
4)Frequency(normal 2MHz,4MHz).
The probe price mainly depends on the crystal size.
And the frequecy can be chosed by yourself in the range of 0.2MHz~10MHz. For other parameters like angle,we can provide the general angles such as 30°,45°,60°,70°,80°.
General Specification of UT Probe:
| Crystal Size | 5-25mm |
| Crystal Type | Single or Double Crystal |
| Crystal Angle | 0°-70° |
| Testing Range |
1mm-280mm(according to required focus distance)
|
| Center Frequency | 2-8MHz |
| Test Standard Based | EN12668-2 |
| Material | Stainless Steel |
| Sensitivity | 52-54dB |
| Resolution | 34dB |
| Initial Pulse Width | 3mm |
| Angular deviation | ±1° |
| Electrical Impedance | 49Ω |
| Working Temperature | -5-50°C |
Packaging & Shipping
Every set of our equipement will be carefully tested and double checked steps by steps before being packed and delivery,as we all know that among such fierce international competition,only 100% good quality and stable performance can finally attain the customer's trust.Hence,we will always put the equipment calibraton job in the first place while manufacturing.

